

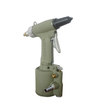
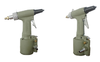

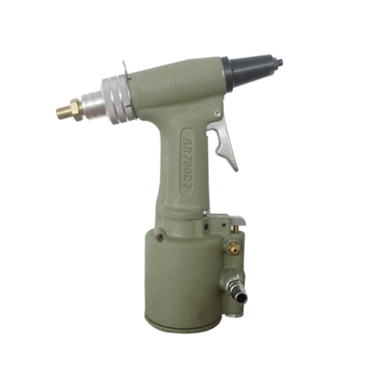
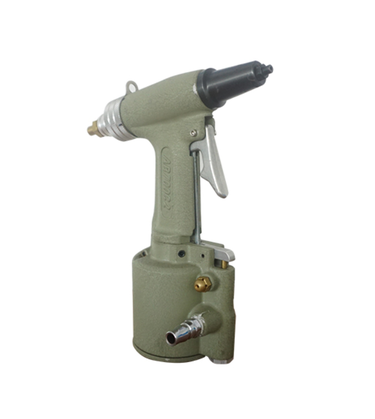
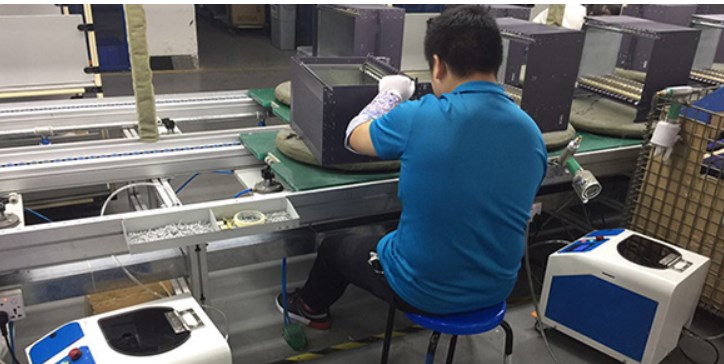
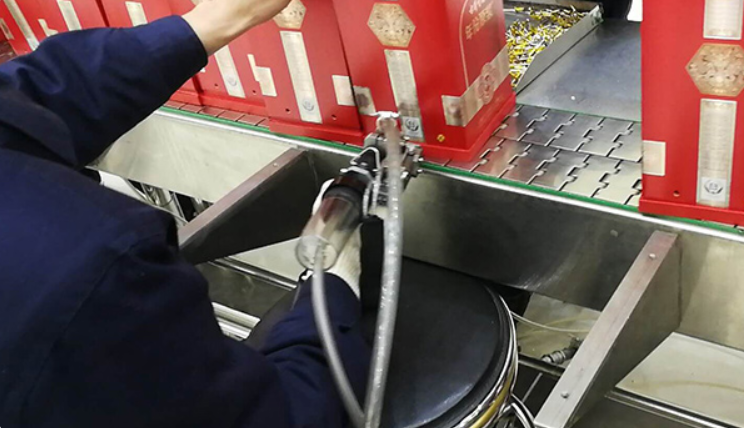
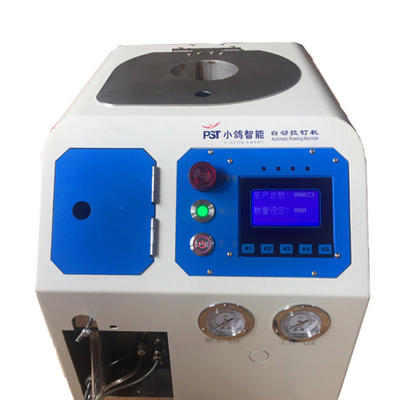
PneumaticRiveting Gun P700-C2 Compatible with 3.2mm to 4.8mm Blind Rivets Retail Package
Introduction:
700-C2 riveting gun is only applicable when the factory is attached with the applicable size of the nail nozzle, the jaw box head and the jaws and the jaw pusher.
Before confirming that these fixtures are fixed, the correct parts of these fixtures must be confirmed. And size.
It is advantageous to clean the jaws every 2 to 3 days while the tool is in continuous use, and depending on the number of rivets being fixed, approximately every 3,000 rivets.
The steps to remove the jaws are as follows:
1. Untie the supply of air.
2. Use a screw wrench to loosen the structure of the head and clean the inside of the head frame.
3. Hold the lock nut of the jaw box, unscrew the jaw box, and use the screw wrench from the oil plug to reopen the washer of the lock nut.
4. Release the jaw head from the jaw box and remove the jaw pusher spring, jaw pusher and a jaw.
5. Jaws, jaw thrusters, jaw thruster springs, and jaw box heads. Now use the brush to clean all debris. If it is worn or damaged, replace these parts.
6. The mechanical mechanism of the oil has good quality oil. We strongly recommend that you apply 081 brand jaw oil on the back of the jaw.
081 brand jaw oil is effective for application.
How to maintain it?
Please specify 1/8” (3.2mm), 5/32 (4.0mm) and 3/16” (4.8mm)
The rivet is mounted with a simple change of the nail device without any other changes.
Connect the tool train to the air supply, hold the trigger and press down to know that the nail tip device is loose, reinstall and re-lock; the nail head device can also be changed via the loose head frame.
Since the tool is out of the factory, a moderately sized jaw pusher and jaw tablet and jaw head box have been installed.
Jaw pusher
2. Pliers piece
3. Jaw box
4. Change the steps in the jaw statement maintenance. These parts are included in the tool.
Using Tips:
Before using, observe the tail end of the retracting hole of the rivet machine to ensure that the claw piece group is opened and the hole is in a state of round hole.
The rear duct should be completely screwed into the oil piston tube, and then locked with the loose nut in reverse rotation; the front and rear ducts are also threaded and should be fully screwed in.
If the brake ring bayonet cannot be aligned at the same time After the clamping position of the rear catheter, the front catheter can be rotated slightly in the opposite direction to match the brake ring.
Note: The front tube should not be loosened more than one circumference in the opposite direction.
Contact
Supplier


Agriculture Machinery & Equipment
Apparel & Textile Machinery
Building Material Machinery
Chemical Machinery & Equipment
Energy & Mineral Equipment
Engineering & Construction Machinery
Food & Beverage Machinery
Home Product Making Machinery
Industry Laser Equipment
Machine Tool Equipment
Metal & Metallurgy Machinery
Other Machinery & Industry Equipment
Paper Production Machinery
Plastic & Rubber Machinery
Printing Machine
Refrigeration & Heat Exchange Equipment
Woodworking Machinery
Environmental Machinery
Machinery Accessories
Material Handling Equipment
Welding Equipment
Cleaning Equipments
Commercial Machinery
Air-Compressors & Parts